Apr 2nd 2022
Product Highlight: 2020-2022 Subaru Outback Yakima Roof Rack
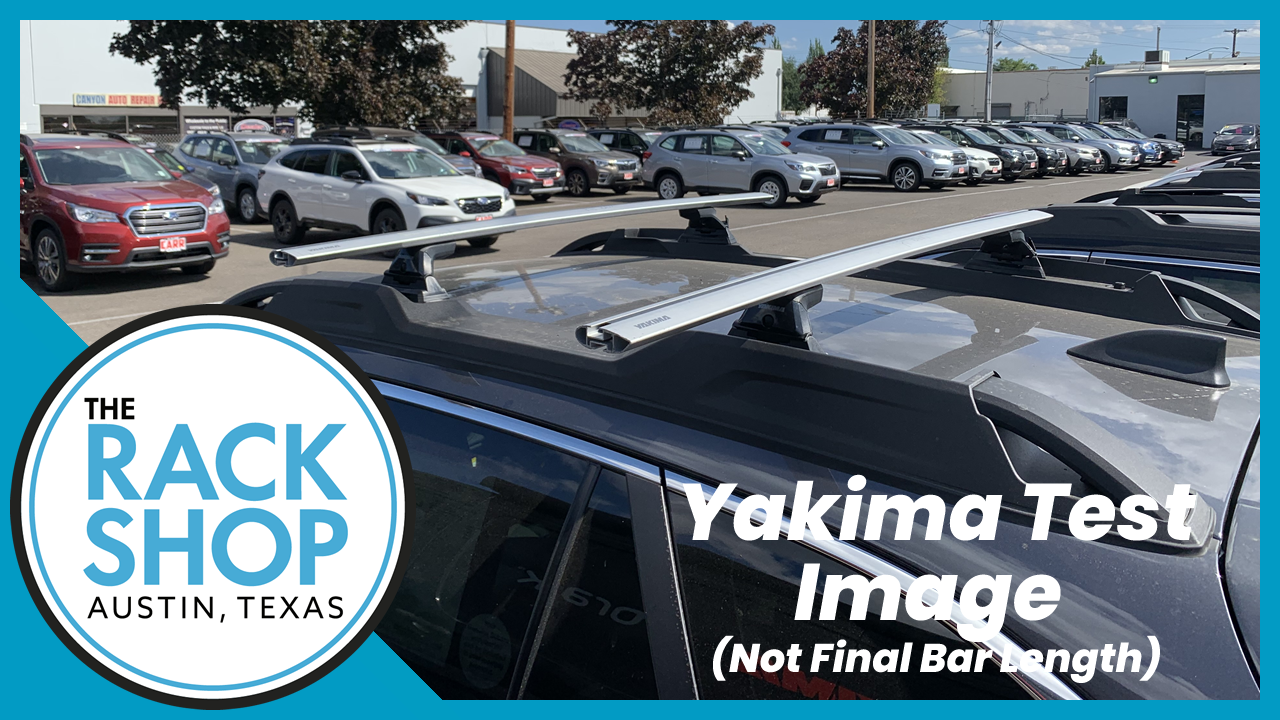
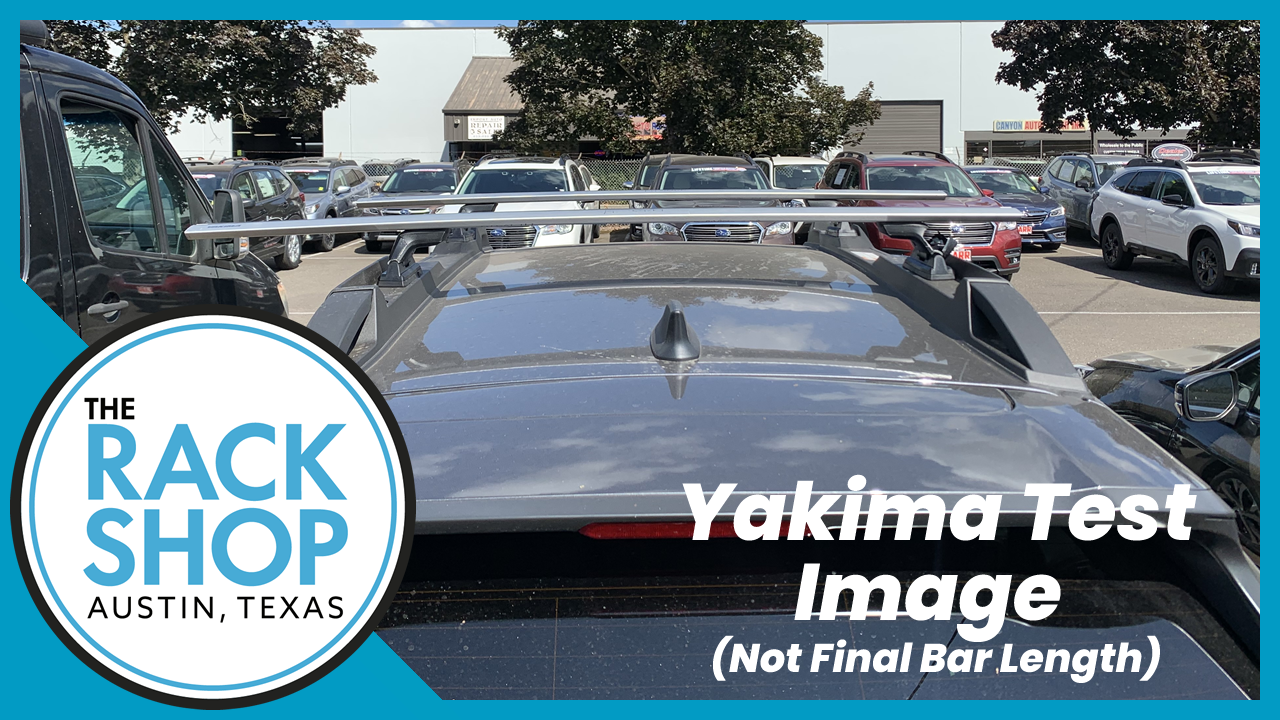
Subaru Outback (w/raised rails) Yakima Crossbar Complete Roof Rack | 2020-2022
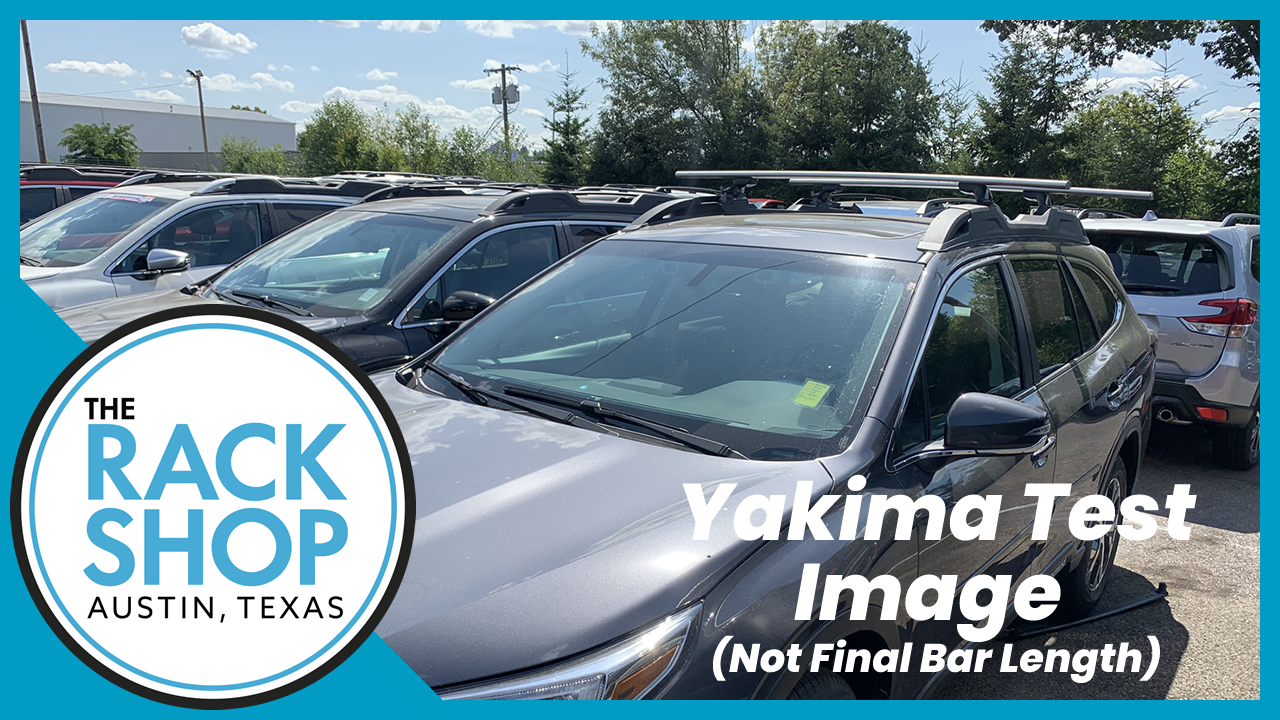
Looking to replace the factory-style swing out load bars? Yakima has you covered!
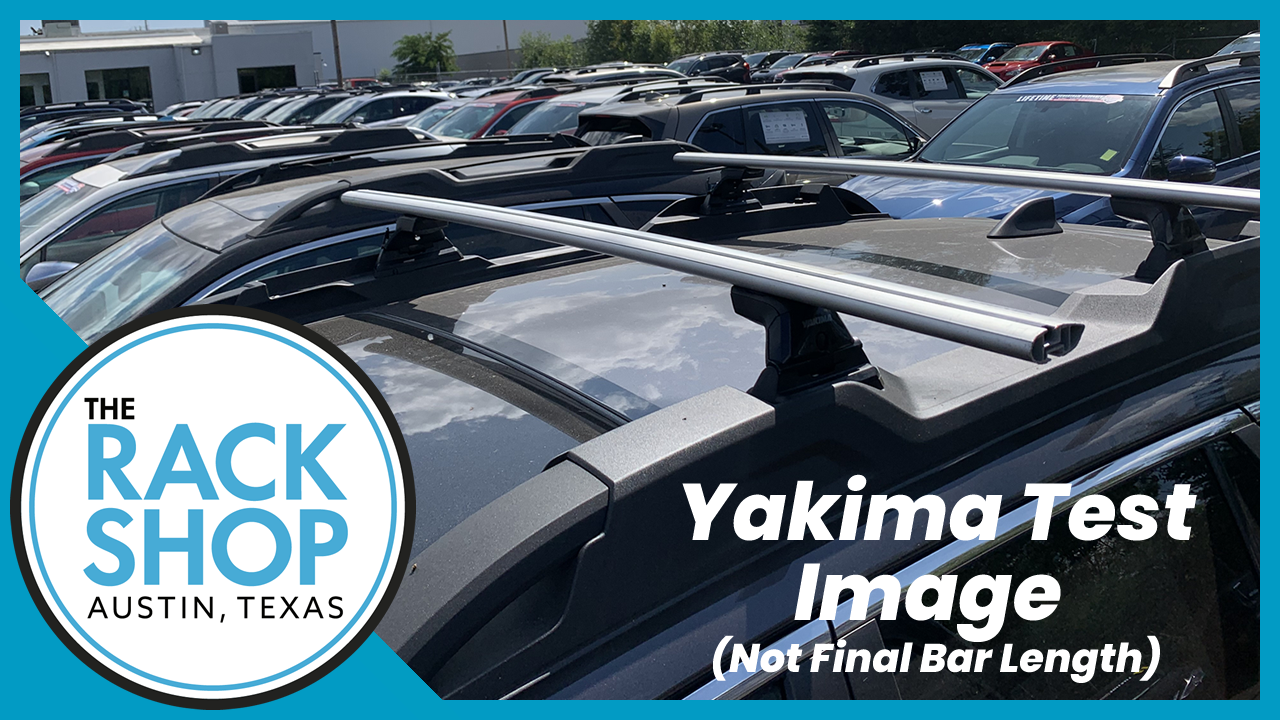
Unbolt your factory bars and use the Yakima Landing Pad 27 (8000254), Yakima SkyLine Towers (8000148), and your choice of Yakima Load Bars: RoundBar, CoreBar, JetStream Bar, or HD Bar.
Our personal choice for most applications is the JetStream load bar. This bar offers the best aerodynamics and overall mounting options for accessories.
- The CoreBar is a few bucks more than the RoundBar and has better aerodynamics (quieter bar), so we really don't support the RoundBar anymore.
- The HD Bar, while on its own is a very strong load bar, the rest of the components for this vehicle doesn't help increase the load capacity, so we tend to not recommend this bar type. But if you want a beefy looking bar, the HD Bar is the way to go!
Sooooo, that leaves us with choosing between the Yakima CoreBar and JetStream Bar...at this time, it is only about a $50 difference and you get a better performing bar and more mounting options.
Get the JetStream bar!! (If you want)

How to install the Landing Pad 27 onto the 2020-2022 Subaru Outback:
For complete details, use the full manual Instruction Manual >
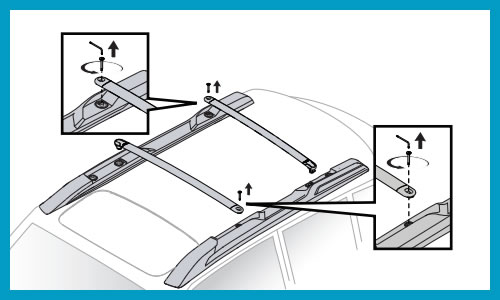
1: REMOVE FACTORY CROSSBARS.
- Driver Side Rear & Passenger Side Front: Lift the tab to release the crossbar. Reference your owner’s manual for more information.
- Driver Side Front & Passenger Side Rear: Use the supplied Torx wrench to remove the factory bolt securing the crossbar. Using the Torx wrench that came with your vehicle, remove the larger Torx bolt on the rear passenger corner. See owners manual for more information.
- Store the fasteners and the factory crossbars in a safe place.
**Do not drive your vehicle without either factory crossbars or Yakima landing pads installed**
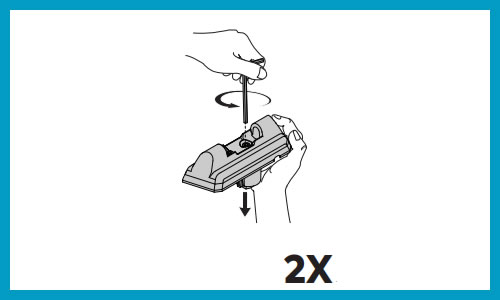
2: PREPARE THE CATCH MOUNT.
- Using the hex wrench fully open both Catch Mounts by turning the screw counter-clockwise.
- NOTE: Use caution to not dislodge the circlip on the bottom of the bolt.
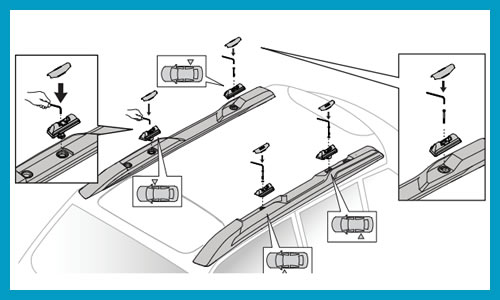
3: INSTALL LANDING PADS.
- Using the hex wrench install each catch mount and pad as pictured (catch mounts are located diagonally from one another). Fully tighten to 2.3 Nm.
- Using the hex wrench install the fastener, washer, bare mount, and pad as pictured (bare mounts are located diagonally from one another). To prevent the screws from cross-threading start threading the fastener using your fingers. Fully tighten to 2.3 Nm.
**Attachment hardware can loosen over time. Check and tighten as necessary, before each use**
- Use the covers whenever your SkyLine or Control Towers are not installed.
- Store the covers in a safe place whenever SkyLine or Control Towers are installed.
- Periodically remove the landing pad and clean under pad.
- Periodically inspect the pads for wear or cracking. Replace them if they are damaged.

This system also has a quick release SkyLine Tower, so taking it off between uses, if needed, is super easy. Because of how easy it is to take on and off, we would recommend picking up a set of Yakima SKS Lock Cores. A 4-pack will cover the mounting towers, but you might get a 6 or 8-pack if locking up additional gear mounts. Getting more all at once will ensure that they cores are matched in the pack...SKS (Same Key System).
Have questions? Email hello@therackshop.com, call 512-351-9849, or stop by the shop!
The Rack Shop
7200 McNeil Drive, B2
Austin, TX 78729